Installing a GPS Tracking Device

Most people never stop to consider where the GPS Satellites they hope to use with their tracker are located. In fact the main ones are some 12,500 miles (20,000 km) above us. Despite this the installation of a quality tracking device is extremely straightforward and nowhere is that more true than with most non metal vessels. The simplest form of installation is to use one of our units with 'built in aerials', then gain access to the battery compartment and connect the ‘Live Wire’ to the Positive side of the battery(s) and the ‘Neutral Wire’ to the Negative (or Earth). Now 'Cable Tie' or 'Velcro' the device down with the label side up and in 95% of cases that is it - 5 minutes and the job is done. As long as the battery is between 9 volts and 30 volts and the compartment is not screened with metal all round, this will work.
So why write a page on installing tracking devices? It is simply because for a few moments extra effort you can do even better. First thing to consider - Is the point we connected to fused? If it is straight on to the battery terminal, the answer is going to be no! So for a fiver at the Mariner shop why not put an in-line fuse (3-5 amps) between the device and the battery. Better still, almost for sure there will be a distribution board nearby with a spare fused terminal you can connect to (but make sure the fuse is 3-5 amps not much bigger).
The tracker only needs to be fused on the live side, but a fuse will protect you in the event that one day the wire's installation gets damaged, a blown fuse is better than a burnt boat. So now you are thinking OK I will use that distribution board, but before you do just check that the point you selected stays live when you turn the master switch off. If it goes off with the power and if you want the unit to stay on after you leave the boat (assuming you have shore power), then I am afraid you are back to running it from the live side of the battery WITH A FUSE.
Is mounting height important? Well yes and no, as far as receiving a signal from the satellites is concerned as long as the device is not half a meter below the water line it will be accurate enough for most people. The transmitter aerial is a little less simple. For most plastic, or wooden vessels with it mounted above the waterline, then up to a few miles offshore contact will be continuous and remember with our units even if it loses contact for a moment it will hang onto the location fix and send it when it is back in radio contact. If however you do want to get better and more accurate coverage, read on . . . .


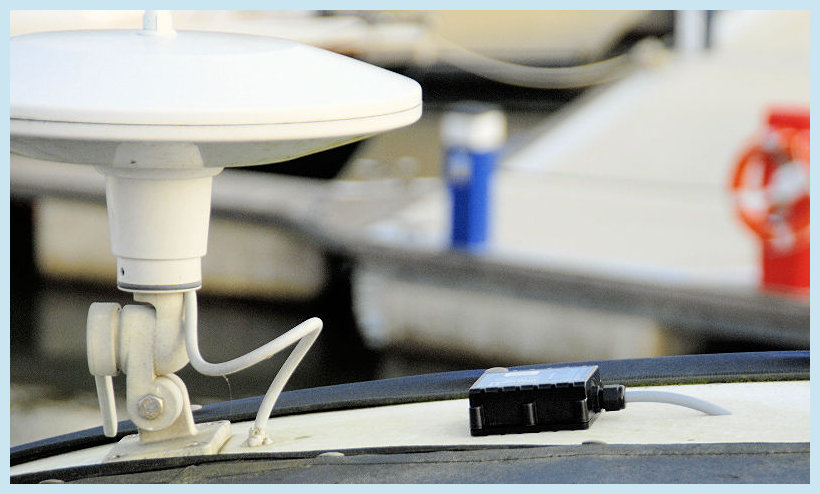
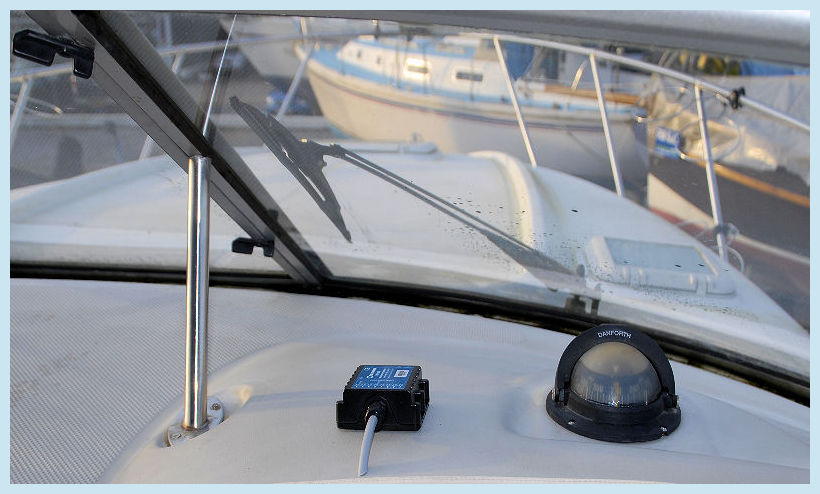
As you can see with the images above the easiest way to improve performance is to mount one of our weatherproof units on top of the ‘Fly-bridge’, or the‘Instrument Console’ as shown above. If however you purchased one of our non weatherproof units then just mount it INSIDE the ‘Instrument Console’ or ‘Fly-bridge’ (assuming of course they are not metal ones), this way you still get the height and keep it dry.
With most enclosed Fly-Bridges there will be an inspection panel, loudspeaker enclosure, or light unit you can unscrew to get in there and then it is just a case of attaching some cotton to a large nut and dropping it down the outside support to where you can collect it inside the vessel. Next tie some twin cable (3-5amps) where the nut was and pull it back up to power the unit. Even if you have a weatherproof unit it may still be worth putting it inside one of these locations if you want to hide the unit from sight. But of course in all cases before you finally fix it in place (label side up) it is wise to just power it up and confirm it is all working as it should be.
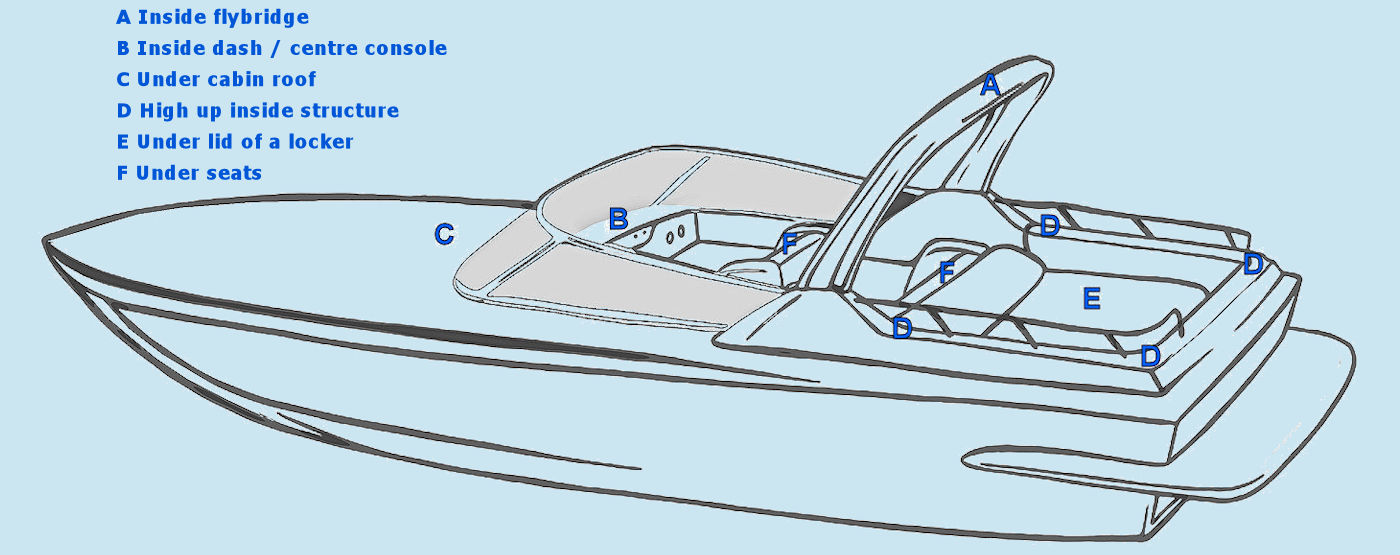
Below is a few suggestions for installation a of a non-weatherproof tracker (or a covert installation of a weatherproof one) on a plastic/wood vessel, shown in order of best performance.
